-
Sailing and boatwork
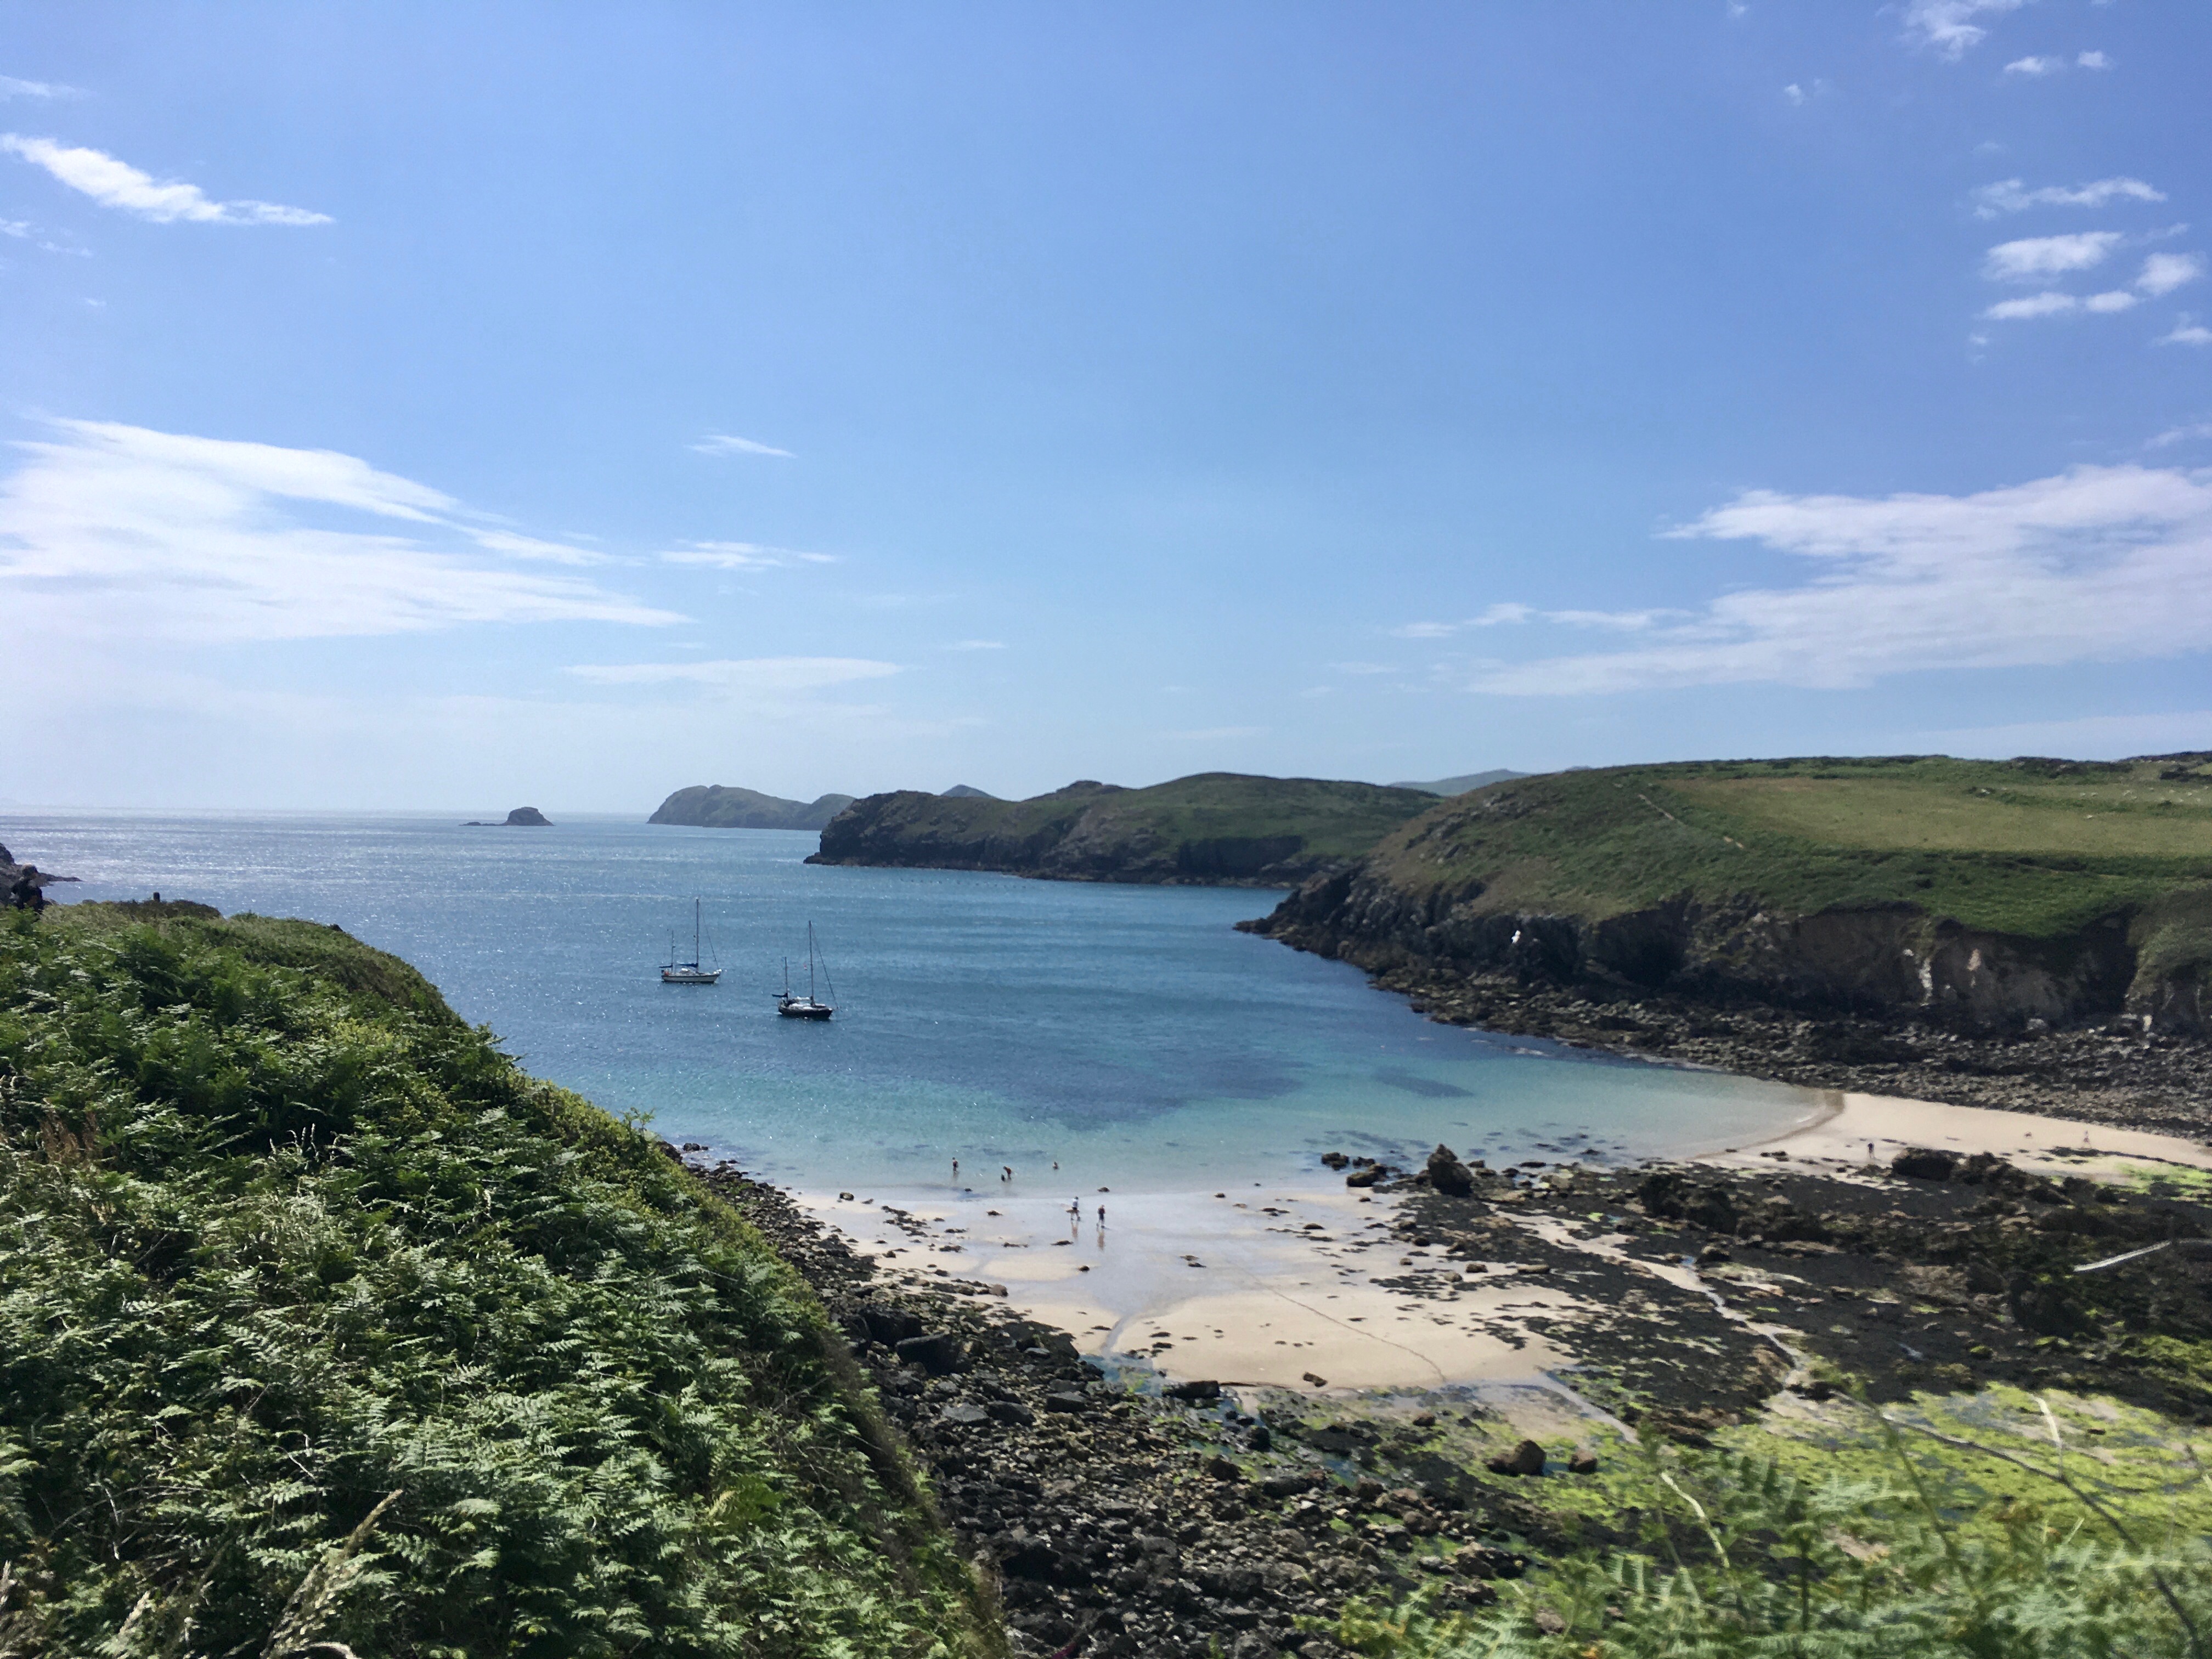
After a couple of days out with our ship Aline with some friends it was time to spendsome time out with the sailboat in the Stockholm archipelago
-
Companionway door renovation – part two
Time for part two of the companionway renovation! If you want to read part one, click HERE. After adding wood putty and sanding the companionway door several times it was time to put it together. First up was the frame, it is made of stainless steel and it was Anne-Mon’s previous owner that had made this. It is a well made frame so it is really nice to save some time and money. It feels really nice to have a proper door, but it is not completely finished. We are still missing a part for the handle, which we have ordered and should be arriving soon. We will also varnish…
You May Also Like

DIY autopilot for sailboat – Part one
-
Cockpit work
When we had added the final layer of paint in the cockpit we could start fixing other details in the cockpit. First up was to get the sprayhood for our sailboat in position, it was included when buying the boat and is proably not very old, since it is in very good condition. It is the same fabric as the boom covers which is really nice. After the sprayhood was in place we started adding the hatches we bought a long time ago. The white paint is very slippery when wet and that is not very good while sailing. So we addded some non-slip paint on the floor in the…
You May Also Like
DIY autopilot for sailboat – Part one
-
Companionway door renovation – part one
One thing we want to have completed before the summer starts for real is the companionway door we have had for our sailboat. The old one we have is just a plywood with some insulation on it. It is leaking and is looking pretty boring, and with the newly renovated sliding hatch we need a matching companionway door. The door is pretty thick and will feel as a proper door when finished. Next up with the companionway door will be to add the metal frame, continue sanding, add windows and finally varnish it! 🙂 As mentioned before we have started to paint the cockpit, hopefully the weather is with us…
You May Also Like
DIY autopilot for sailboat – Part one
-
Renovation of leaking sliding hatch
We have had trouble earlier with our leaking sliding hatch , which we started to repair a couple of weeks ago, read more about part one HERE. When the linseed oil we added had hardened 14 days later we started to varnish it. After we had added 8 layers of varnish we glued the Isiteek, which is fake teak made out of plastic, back on the hatch and then it was time to start with repairing the leakages. In parallel to working with the leaking sliding hatch we have also started working with the door to the cabin. We currently have a provisional one but the previous owner had started…
You May Also Like
DIY autopilot for sailboat – Part one