
Volvo Penta Heat Exchanger Renovation
January 2019
After knowing that the engine started as it should, see video, we continued with the heat exchanger. As our heat exchanger didn’t look very good we started calculating on the time and cost for designing a new cooling system, with a separate tube heat exchanger and a expansion tank. It ended up in that we decided to go for our old heat exchanger. One reason for that is that we have a spare heat exchanger element for our existing heat exchanger.
As you maybe remember from our teardown, the connection towards the exhaust manifold had some bad corrosion.

We outsourced the fix for the connection to another person. When we got it back it now looked like this:

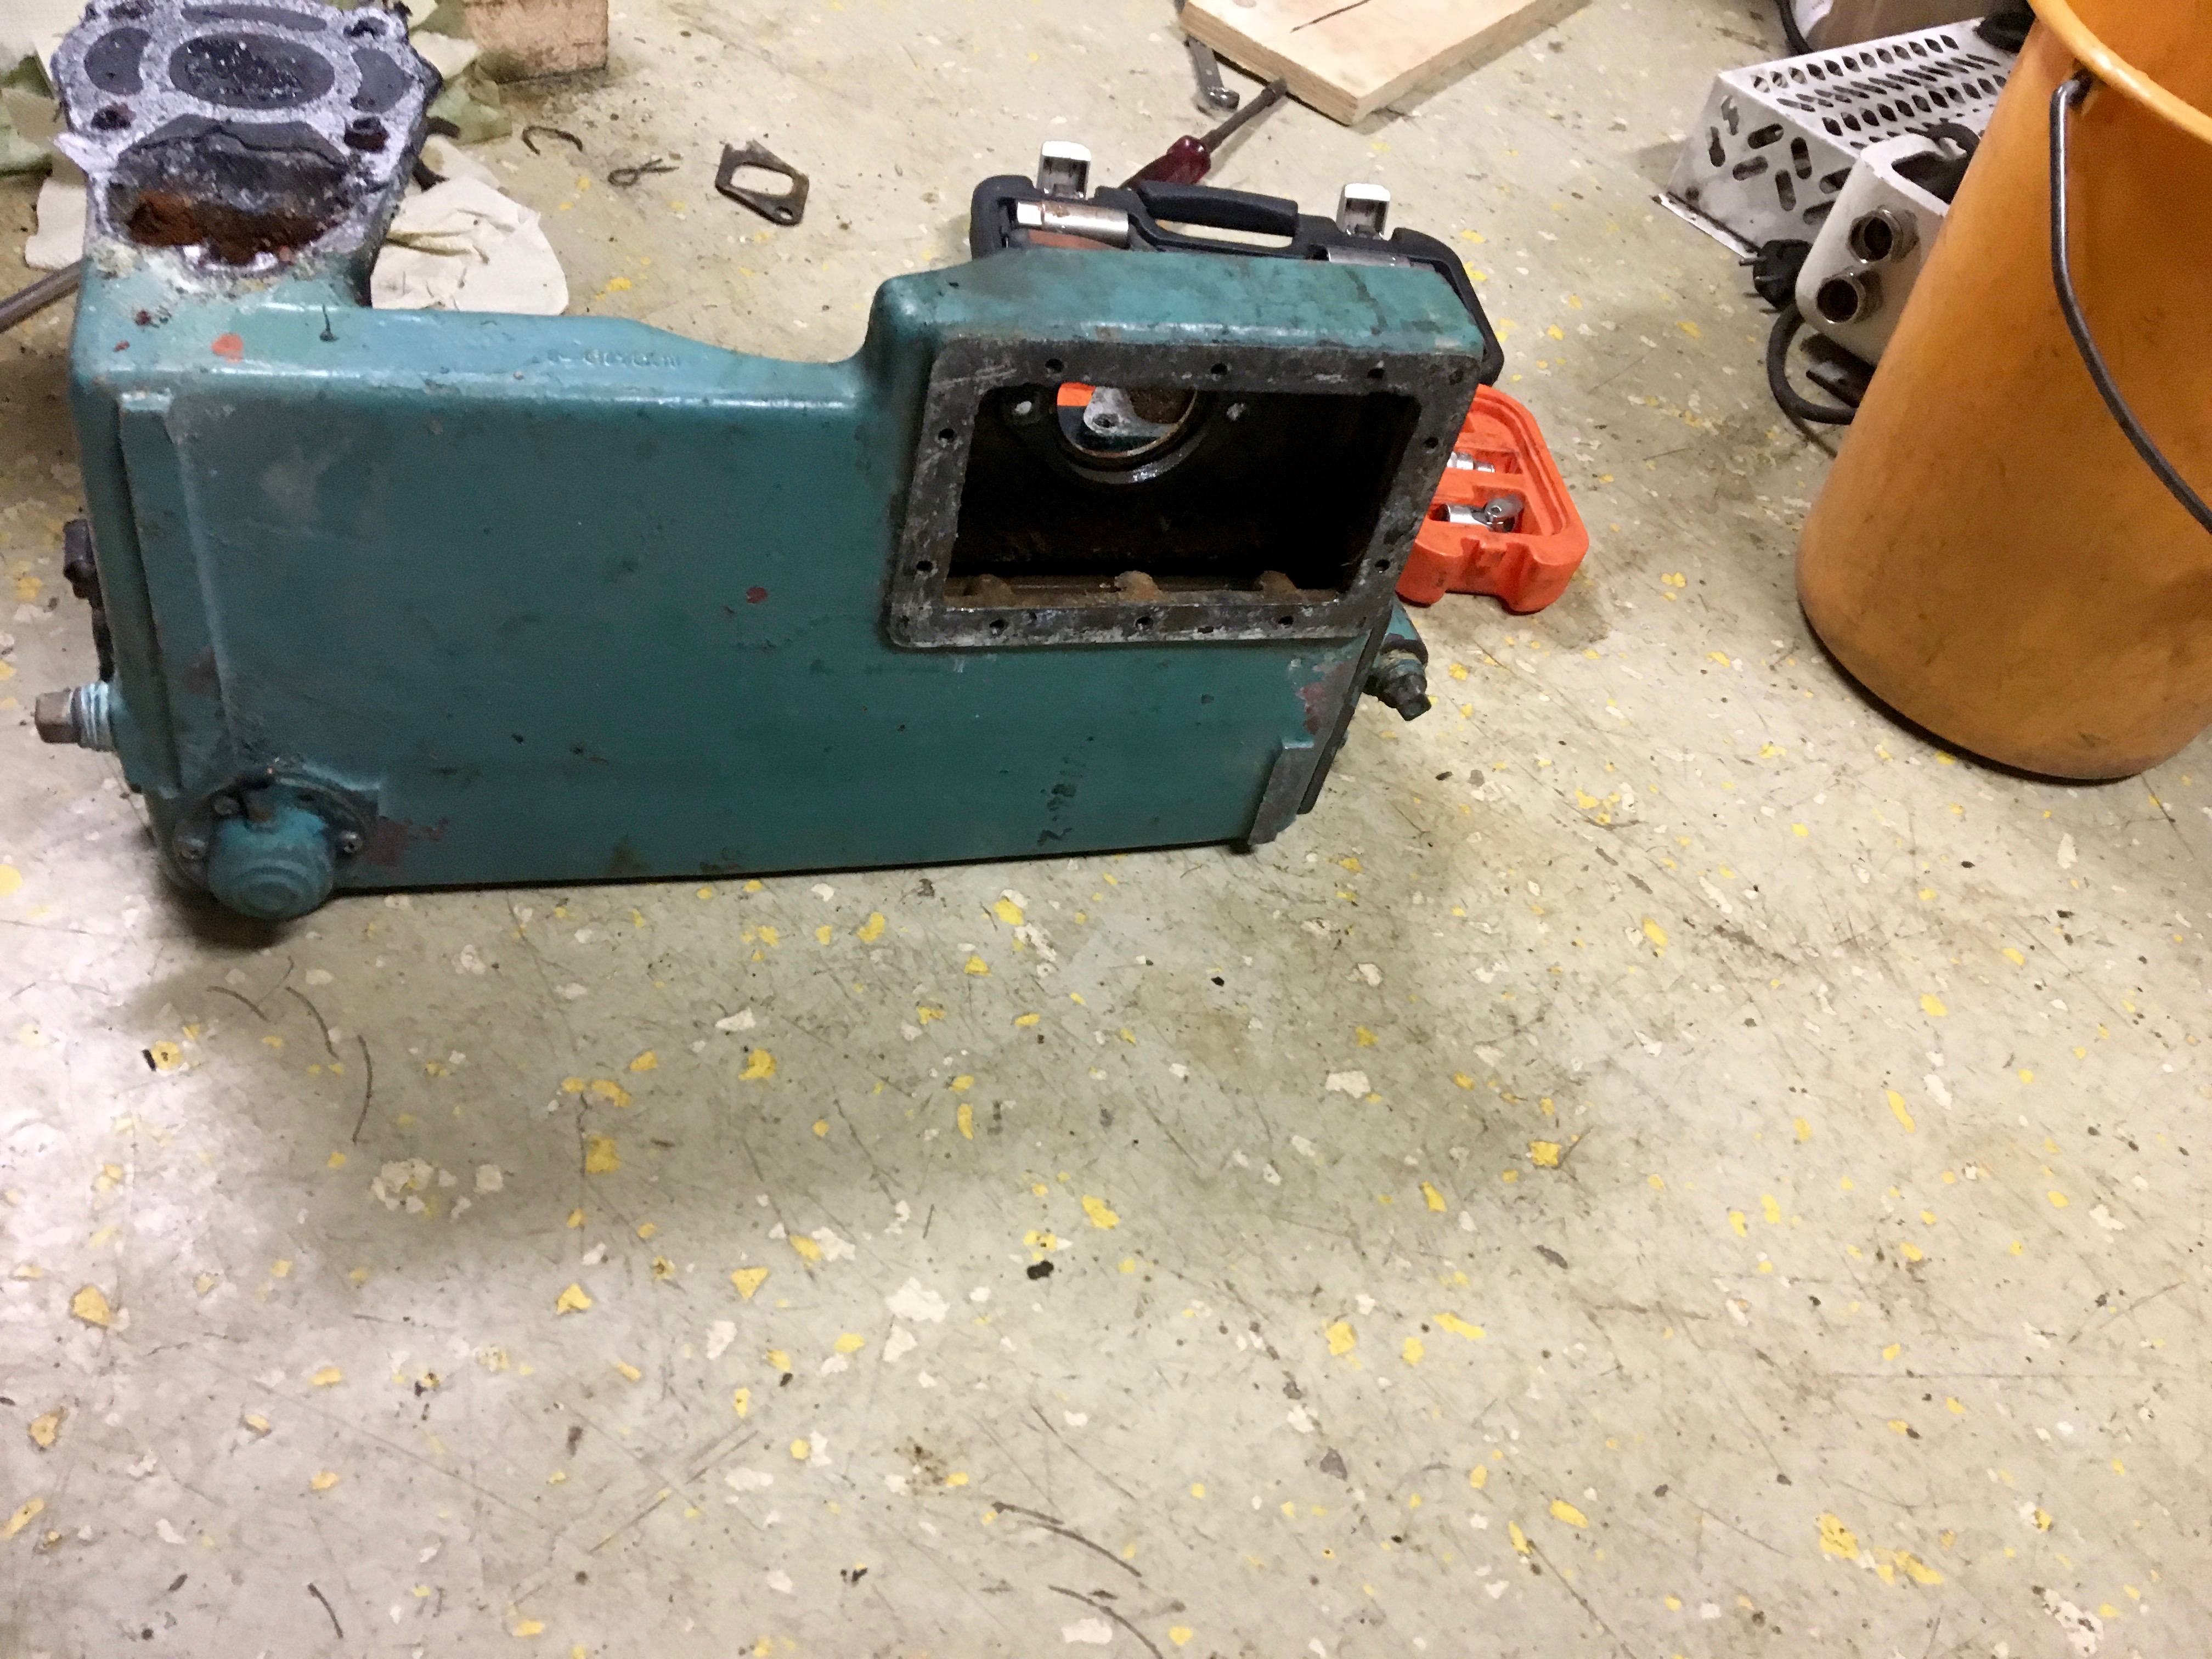
We also took out the heat exchanger element to clean it and check that is did not leak, and the it was to time to put it back…

We pushed to hard and had an accident with the gable of the heat exchanger:


So now we had some welding to do. The gable is made of cast iron, so we borrowed the correct welding tools for cast iron and fixed the small part. We also borrowed the correct tools for welding aluminum. To weld aluminum you need alternating current or pulsed current to break the oxide layer. The bottom of the heat exchanger had some small corrosion holes on it and we wanted to weld them together as well.


Then it was time to try to get the heat exchanger element back into its position without breaking anything else. This time we were more careful and we managed to get it all back together.
Then it was time to mount the heat exchanger onto the engine:


And now when we had everything in place it was time for a test run with water connected.
We didn’t want to run the engine too long without having a load on the engine, but we wanted to run it long enough to find possible leakages. And we did find some! There were some leakages towards the connections of the heat exchanger and the circulation pump. The shaft sealing for the circulation pump probably needs some time to run in in order to fully seal. For the other connections we added flange sealant so that it would seal.

Now we are almost done with the engine, what we have left to do is:
- final painting
- solution for crank house ventilation
- renovate the gearbox
- start and run the engine once more to test the crank-house ventilation solution and see that there are no leakages.
If you want to read more about our previous work with the engine, see category Engine.
One Comment
Aitor González
Hey there!
I need some help and looking for it I found your post
I’m looking for a Volvo penta md21A heat exchanger and I don’t know where to find it
Can you please give me a hand with that!
Thank you and have a great day